How to Prep Concrete for Epoxy Coating Before Resin Flooring?
Date: 21 August, 2026
Views: 1
Source: DIMERY
Before resin flooring is applied, concrete must be checked for moisture, strength, surface profile, cracks and joints, flatness, contamination, and environmental suitability. A slab that merely looks dry and clean is not necessarily ready. Critical findings should be measured, recorded, and compared with the current technical data sheet for the selected primer and complete resin flooring system. If the substrate is weak, damp, contaminated, or still moving, immediate coating can lead to pinholes, bubbles, reflective cracks, peeling, or complete delamination.
How to Prep Concrete for Epoxy Coating: Establish the Project Baseline
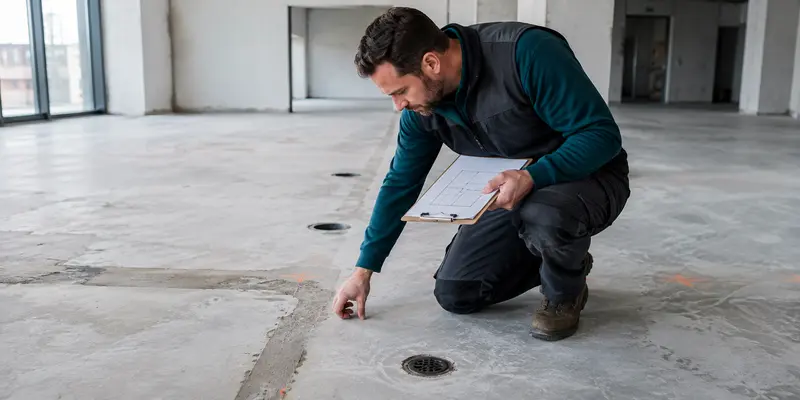
Effective how to prep concrete for epoxy coating guidance begins before the grinder is switched on. Establish what the slab is, how it has been used, and what the finished floor must withstand. Record whether the concrete is new or existing, slab-on-ground or suspended, and whether a functioning vapour barrier is known to be present. Note drains, wash-down cycles, forklift traffic, chemical exposure, thermal cycling, previous repairs, leaks, and areas where an old finish has lifted.
This baseline prevents isolated observations from being misread. A dark patch beside a doorway may come from recent washing, failed external drainage, or continuous vapour movement. A crack may be inactive shrinkage or part of a moving joint. Mark visible conditions on a floor plan and photograph them before mechanical preparation so test locations and repairs can be traced later.
The intended resin floor coating also changes the acceptance criteria. A thin coating follows the slab closely, while a thicker decorative build may improve minor texture but cannot correct structural weakness, uncontrolled movement, or major level differences. The final check must therefore match the selected system, service conditions, and project specification.
Epoxy Floor Substrate Moisture: Screen, Verify, and Compare
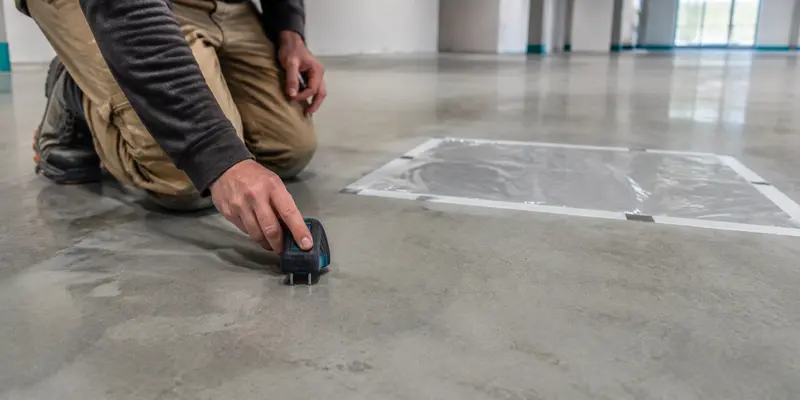
Epoxy floor substrate moisture is a critical hidden risk because concrete can appear dry while moisture remains inside the slab or moves upward from below. Start with visual evidence such as dark areas, efflorescence, damp joints, blistered old coatings, or recurring failures near walls and drains. A handheld concrete moisture meter can then map comparative readings across the floor. It is useful for locating wetter zones, but a surface meter alone should not approve a commercial installation.
A tightly sealed plastic sheet can reveal condensation or darkening and is useful as a warning test. A positive result requires further investigation; a negative result does not prove that deeper slab moisture is acceptable. For documented decisions, use the test method required by the project or coating manufacturer. ASTM F2170 in-situ probes measure relative humidity within the slab, while ASTM F1869 calcium chloride testing measures moisture vapour emission from the surface. They measure different properties, so their values are not interchangeable.
Compare the result with the limit for the actual primer and complete flooring build-up. Do not copy a percentage from another epoxy product into a different resin flooring system. Elevated readings may require controlled drying, correction of the moisture source, an approved mitigation layer, or a different flooring specification. Adding more standard primer is not a substitute for diagnosis.
How to Prep Concrete for Epoxy Paint: Check Strength and Surface Profile
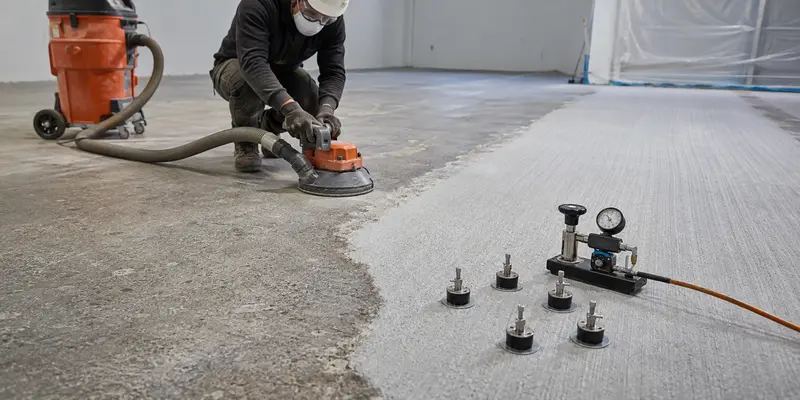
Anyone researching how to prep concrete for epoxy paint should check both the concrete mass and the quality of the surface layer. A slab may meet its original design strength yet still have weak laitance, a dusty topping, rain-damaged concrete, or a deteriorated repair at the bond line. Walk the slab and probe suspect areas. Powdering, crumbling edges, widespread spalling, and material that can be removed easily indicate that the resin would bond to a weak layer rather than sound concrete.
Sounding methods such as a chain drag or light hammer survey can help map hollow zones. A rebound hammer can compare relative hardness, but it does not replace project-specific strength verification. Where bond performance is critical, pull-off testing measures tensile capacity and shows whether failure occurs in the concrete, a weak topping, an old coating, or at the adhesive interface.
After unsound material and incompatible residues are removed, create an open and consistent mechanical profile. Diamond grinding or shot blasting is commonly used, with the target Concrete Surface Profile selected for the coating thickness and manufacturer instructions. The objective is not maximum roughness. It is sound concrete with sufficient mechanical key, without polished zones, deep grooves, or loose aggregate. Review DIMERY's polymer terrazzo floor coating installation guide after the substrate has been accepted.
Resin Flooring Over Concrete: Map Cracks, Joints, Voids, and Flatness
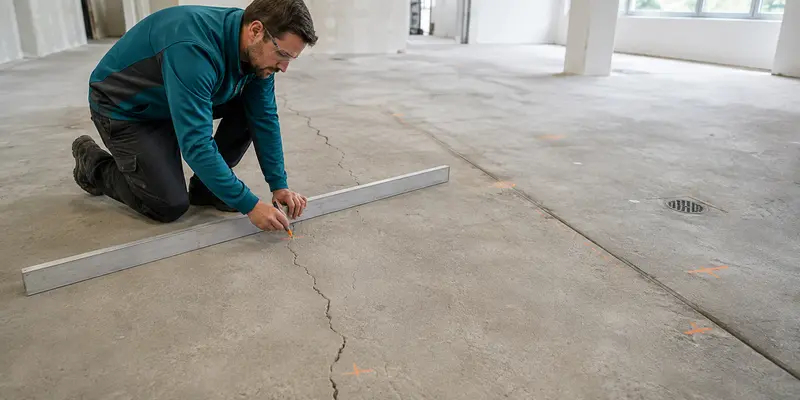
Before installing resin flooring over concrete, classify every crack and joint instead of filling everything with one rigid material. Fine, stable shrinkage cracks may be repairable after preparation. Cracks that remain active, show vertical displacement, continue through structural elements, or repeatedly reopen need engineering assessment or a movement-accommodating detail. Expansion and other active movement joints normally need to be carried through the resin system; rigidly covering them can transfer movement into a visible crack.
Check joint edges, penetrations, equipment bases, and previous repairs. Soft sealants, silicone contamination, poorly bonded patches, and hollow toppings may need removal back to sound material. Flatness and slope should also be measured against the project requirement, especially around doors, drains, thresholds, and fixed machinery. Mark high and low areas, then determine whether grinding, resin mortar, or a compatible levelling layer is required. A self-levelling resin layer may improve finish consistency, but it should not be used to hide major depressions or drainage errors.
Resin Floor Coating Preparation: Remove Contamination and Old Coatings
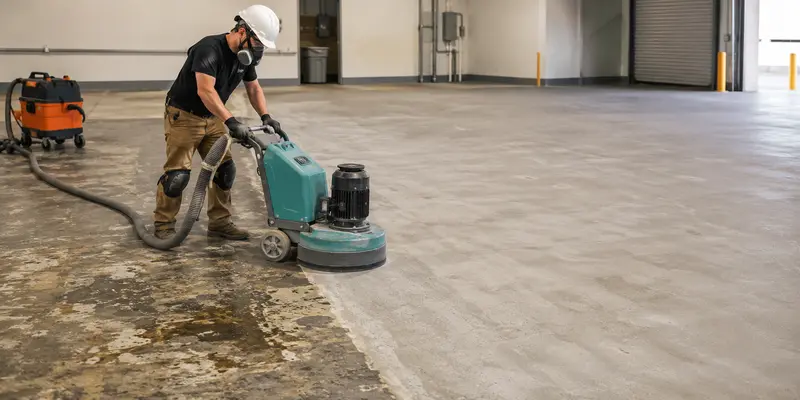
Resin floor coating preparation requires direct contact with sound concrete. Common bond breakers include oil, grease, dust, laitance, curing compounds, wax, silicone, adhesive, paint, densifier, and poorly bonded repair material. Identify and treat contamination before profiling; grinding oil into the slab can spread it through a larger area.
A water-drop check can reveal inconsistent absorbency or a possible sealer. Rapid absorption suggests an open surface, while beading suggests a barrier, but the result is only a clue and not proof of adhesion. Deep oil contamination or soluble salts may require specialist testing, removal of affected concrete, or a compatible treatment system.
Existing coatings must be assessed for type, bond, and chemical compatibility. A firmly attached coating may sometimes accept a compatible recoat after abrasion and testing, but a high-build system needs a reliable foundation. Flaking, soft, or unknown coatings should not remain beneath the new floor. After grinding or shot blasting, vacuum thoroughly and protect the prepared area from fresh dust, traffic, and spills. DIMERY's floor renovation page provides related guidance for old concrete, tile, and epoxy floors.
Epoxy Floor Installation: Check Temperature, Humidity, and Dew Point
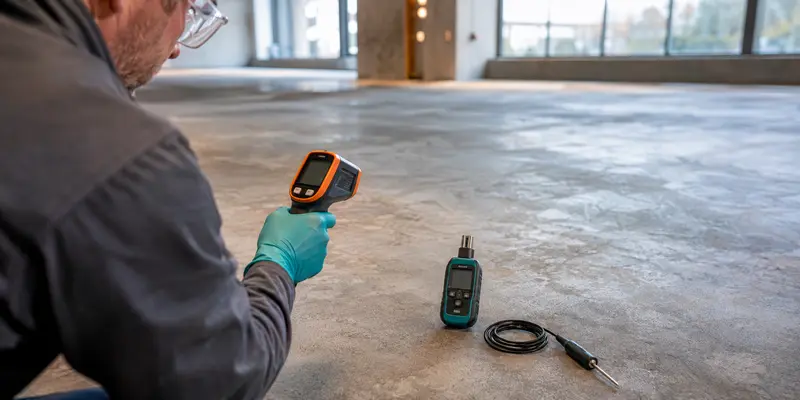
Good epoxy floor installation conditions are not confirmed by room temperature alone. Record ambient temperature, concrete surface temperature, relative humidity, and calculated dew point. A slab may stay colder than the surrounding air, particularly early in the day or near external walls. When its temperature approaches the dew point, an invisible film of condensation can form and interfere with primer adhesion even though the surface looks dry.
Measurements should be taken before work begins and repeated when conditions change during application and curing. Temporary heating, cooling, or dehumidification must stabilise the slab as well as the air. Avoid direct airflow over uncured resin because it can carry dust and disturb the surface.
For the DIMERY liquid terrazzo system documented in the current company manual, the construction substrate temperature is 15-35°C, the substrate must remain more than 3°C above the air dew point, and ambient relative humidity must remain below 80%. These are product-specific conditions, not universal epoxy rules. The latest TDS for the selected primer, intermediate coat, decorative layer, and finish remains the governing document.
Resin Flooring Systems: Confirm Adhesion with Pull-Off Tests and Trial Areas
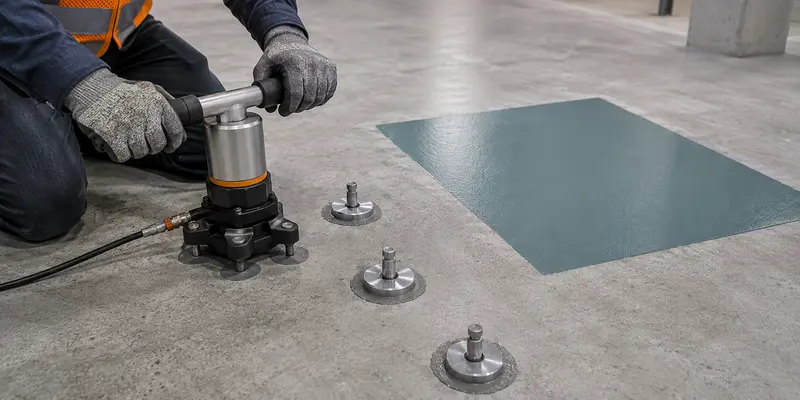
Resin flooring systems benefit from pull-off testing when the substrate history is uncertain, repairs vary across the floor, contamination is suspected, or part of a previous coating may remain. A result should be interpreted together with the failure plane. Failure inside sound concrete, within a weak topping, at an old coating, or at the adhesive interface leads to different preparation decisions.
A representative trial area adds confidence. Apply the specified primer and relevant layers over properly prepared concrete, including a repaired or higher-risk zone when appropriate. Observe wetting, pinholes, absorbency, cure, and adhesion. A trial cannot compensate for active water or structural movement, but it can expose incompatible residues, excessive porosity, or an unsuitable primer before full installation.
The current DIMERY manual requires concrete compressive strength of at least 25 MPa and pull-off strength of at least 2.0 MPa for its documented liquid terrazzo system. Confirm the test method, locations, number of tests, failure mode, and acceptance criteria with the project engineer and latest product documentation.
Epoxy Floor Installation Guide: Concrete Substrate Checklist
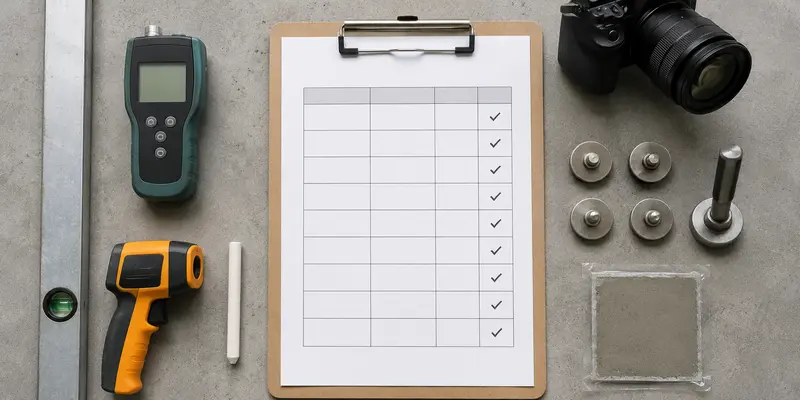
Use this epoxy floor installation guide checklist as a decision record. A completed line should mean that evidence has been reviewed, not that the floor merely appears satisfactory.
| Check | Practical verification | If unsuitable |
|---|---|---|
| Slab history | Age, use, vapour barrier, leaks, drainage, previous failures | Investigate unknown or high-risk conditions |
| Moisture | Map readings; complete specified RH or MVER test | Dry, correct source, mitigate, or change system |
| Strength | Inspect, sound, and perform specified strength or pull-off tests | Remove weak concrete and repair to sound base |
| Surface profile | Compare prepared surface with required CSP | Regrind or shot blast as specified |
| Cracks and joints | Map, classify, and assess movement | Repair static defects; honour moving joints |
| Flatness and slope | Check doors, drains, thresholds, and equipment bases | Grind, repair, or level with compatible material |
| Contamination | Review history, stains, absorbency, and old materials | Remove, clean, test, or replace affected concrete |
| Environment | Record air/slab temperature, RH, and dew point margin | Stabilise conditions or postpone application |
| Trial and final clean | Verify adhesion, cure, vacuuming, and area protection | Revise preparation or system, then retest |
Polymer Terrazzo Floor Coating: Make the Final Substrate Decision
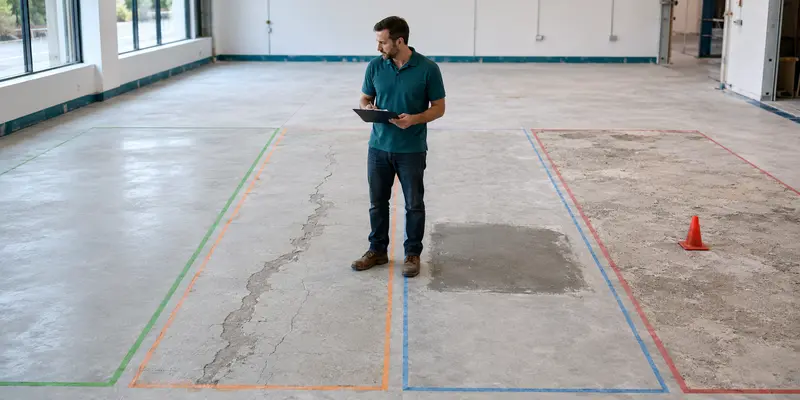
The inspection should end with one of four outcomes. Go means the prepared concrete and site conditions meet current product and project requirements. Repair means local weakness, cracks, voids, or level differences can be corrected with compatible materials and then retested. Mitigate means a defined risk, such as elevated moisture, requires an approved control layer or adjusted system. Stop means active water, structural movement, widespread weak concrete, uncontrolled contamination, or unsuitable environmental conditions make immediate coating too risky.
For DIMERY polymer terrazzo floor coating, the current company manual lists these substrate references: new concrete cured for at least 28 days; substrate moisture below 8%; concrete compressive strength at least 25 MPa; pull-off strength at least 2.0 MPa; construction substrate temperature 15-35°C; relative humidity below 80%; and substrate temperature more than 3°C above dew point. Confirm these figures against the latest TDS, primer choice, test method, and project conditions before installation.
Do not hide an unsuitable result beneath extra material. A thicker decorative layer cannot stop active vapour, strengthen unsound concrete, or absorb structural movement.
Epoxy Floor Substrate Moisture and Preparation FAQs
How dry must concrete be before resin flooring?
There is no single moisture number for every resin floor. The limit depends on the test method, primer, complete system, and manufacturer TDS. A meter or plastic sheet can flag risk, while a commercial decision may require in-situ RH or moisture-vapour-emission testing. DIMERY's documented liquid terrazzo system currently specifies substrate moisture below 8%; confirm the latest project requirement.
Is concrete ready for epoxy after 28 days?
Not automatically. Twenty-eight days is a common minimum curing reference, but curing and drying are different. Slab thickness, climate, ventilation, and ground moisture affect readiness, so moisture, strength, profile, contamination, and environmental checks are still required.
Can resin flooring be applied over sealed or painted concrete?
Only when the existing layer is firmly bonded, chemically compatible, and accepted for the proposed build-up. Unknown, weak, flaking, or soft coatings should be removed. Use a trial area and adhesion test when compatibility is uncertain.
Should expansion joints be covered with epoxy flooring?
Active expansion and movement joints normally need to be honoured through the resin system with an appropriate detail. Rigid coating over movement can create reflective cracking. Static cracks and non-moving defects may be repaired differently, so classify the joint or crack first.
Is preparation the same for resin flooring over tiles?
No. Resin flooring over tiles requires checks for loose or hollow tiles, glaze, grout lines, movement, and bond to the underlying base. Concrete evaluation focuses more directly on slab moisture, strength, laitance, profile, cracks, and joints. Both substrates require project-specific preparation and adhesion verification.
Polymer Terrazzo Floor Coating: Plan the Project with DIMERY
Substrate inspection should produce usable project information, not a vague statement that the floor is good enough. Send DIMERY the project area, slab age, substrate type, moisture-test method and readings, strength or pull-off results, crack and joint map, environmental readings, photographs, traffic conditions, and required completion date. The team can use this information to review the proposed polymer terrazzo floor coating, primer, and intermediate-layer direction.
For application planning, review the epoxy floor installation guide or contact DIMERY before materials arrive on site. A short technical review before coating is far less disruptive than removing a failed resin floor after handover.
Related Articles
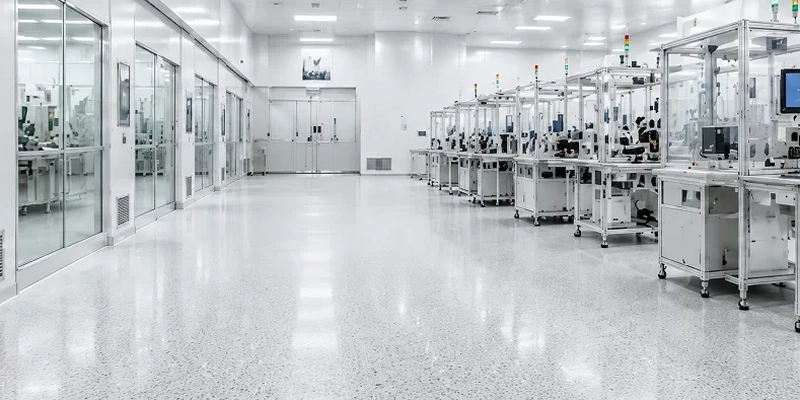
Clean Room Flooring Requirements: What Buyers Should Verify Before Ordering?
A buyer checklist for clean room flooring requirements: define the room, specify a complete hygienic resin system, compare options, request supplier documents and trial results, and use a procurement schedule.

How to Choose a Polymer Terrazzo Floor Coating Manufacturer?
A neutral, evidence-first buyer guide and supplier scorecard for evaluating a polymer terrazzo floor coating manufacturer across documents, samples, batch control, OEM, packaging, supply and after-sales support.

How to Specify Resin Flooring for High-Traffic Public Buildings?
A public building flooring specification maps each zone to measured performance: traffic, slip risk, cleaning, indoor-air and fire documents, substrate and system build-up, installation phasing, and a supplier submittal checklist for approval and handover.
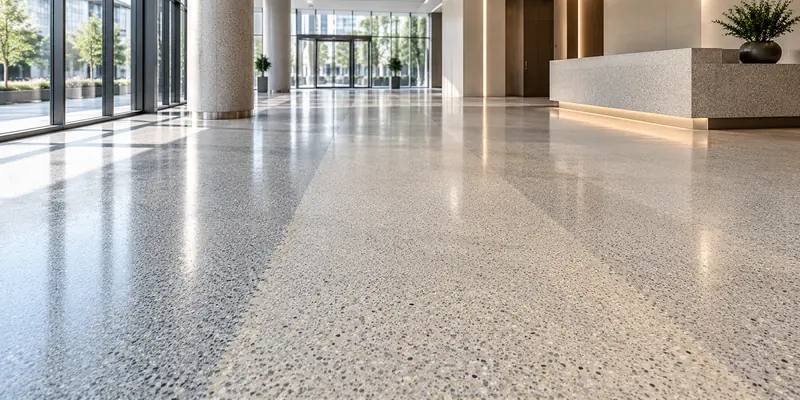
How to Control Color Variation in Large Resin Flooring Projects?
Color consistency on a large resin floor is controlled before, during, and after installation: approve a cured physical sample, allocate production batches by zone, standardize mixing and tools, check lighting, keep records, and retain repair material.
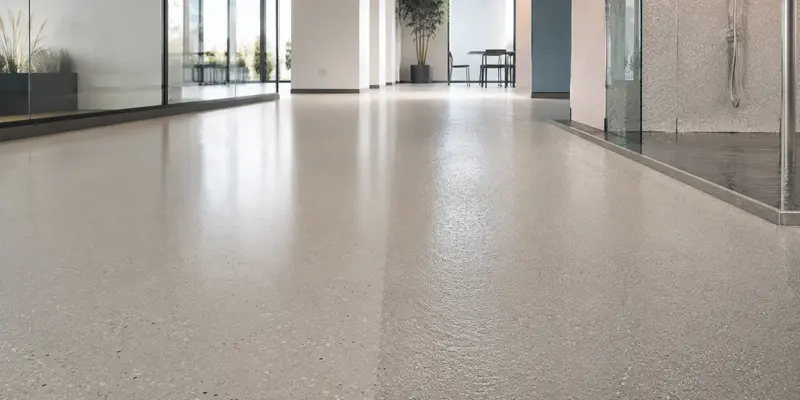
Slip-Resistant Epoxy Floor Coating: Anti-Slip or Easy to Clean?
The best resin floor is neither the roughest nor the smoothest. It achieves the project’s required traction under credible conditions and can be cleaned consistently with the facility’s real equipment, labor and chemistry.
How to Clean and Maintain Polymer Terrazzo Flooring?
Learn resin floor maintenance for polymer terrazzo flooring, including daily cleaning, safe tools, stain removal, high-traffic care and topcoat inspection.