How to Control Color Variation in Large Resin Flooring Projects?
Date: 15 September, 2026
Views: 1
Source: DIMERY
Color consistency on a large resin floor is controlled before, during, and after installation. The most reliable approach is to approve a cured physical sample, reserve and identify production batches, divide the floor into workable visual zones, standardize mixing and application, and inspect the finished surface under agreed lighting. The goal is not to promise that every square meter will look identical. A mineral-textured polymer terrazzo floor coating can show natural movement, while production batches, film thickness, gloss, lighting, tools, and repair work can create additional differences. Good project control separates intended texture from avoidable shade or sheen changes and documents the acceptable result before bulk application begins.
What Causes Resin Flooring Color Variation in Large Projects?
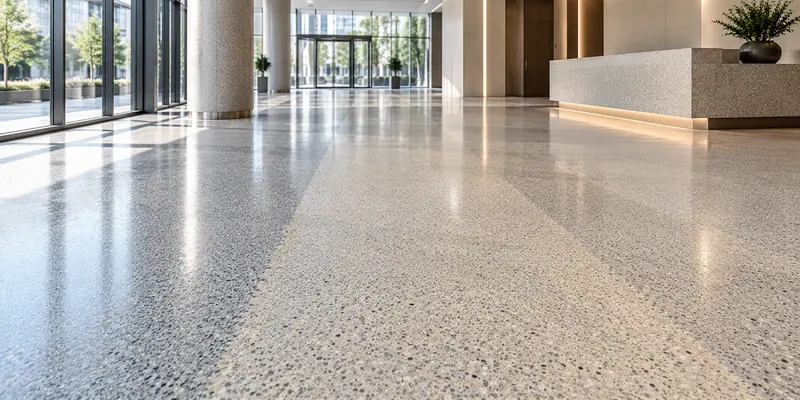
Large projects make small differences easier to see. A completed floor is judged across doorways, long sightlines, daylight zones, and rows of artificial lights. A slight change in hue, aggregate distribution, film thickness, gloss, or surface profile can appear as a distinct band across a wide area.
The cause is not always pigment. Different production batches may have a small tonal difference. Settled components may not be fully re-dispersed, while crews may use different mixing times, tools, spreading rates, or finishing techniques. Thickness and late joining can also change opacity, texture, or reflected light even when the base color is similar.
Lighting adds another layer. Warm and cool lamps change perceived tone, while side lighting exaggerates roller lines, trowel marks, texture, and gloss variation. Long-term exposure to light can also change the appearance of some resin systems. DIMERY's liquid terrazzo instructions state that light exposure can produce yellowing and an appearance difference without necessarily changing the coating's basic performance. This is why a color-control plan must cover both initial acceptance and future expectations.
Use Flooring Sample Approval Before Bulk Production
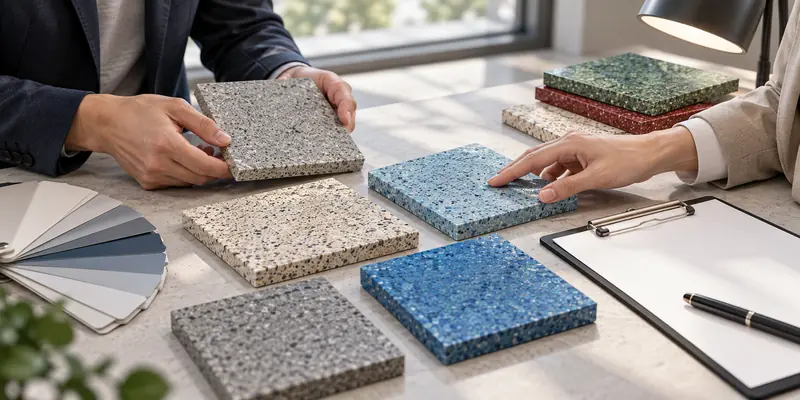
A screen image or printed color chart is a selection aid, not the final reference. DIMERY's product instructions state that displayed colors may differ from the actual material and that the final choice should be based on a physical sample. For a large project, the approved reference should be a fully cured board made with the proposed system, color, aggregate, texture, and topcoat—not a liquid color swatch alone.
Review the board in daylight and under the project's normal artificial lighting. Place it horizontally if it will be used on the floor, because angle changes how gloss and mineral texture are perceived. The team should record the product system, sample code, color reference, texture, topcoat, sheen, application tool, date, and approvers. One signed master sample should be retained by the project team and one by the supplier or applicator.
The approval must describe acceptable character. A finish with mineral movement or aggregate variation will not resemble a flat printed color, and lighter shades may reveal isolated undyed aggregate. DIMERY's Select by Color resources support initial selection, but the cured physical board remains the project reference.
| Approval stage | What to confirm | Required record |
|---|---|---|
| Initial selection | Color direction, aggregate, texture, sheen | Color reference and project requirements |
| Cured sample | Appearance in daylight and project lighting | Labeled sample and approval date |
| Site mock-up when required | Substrate influence, tools, thickness, transitions | Location, conditions, crew, and photos |
| Bulk-release decision | Approved system and production quantity | Signed approval and batch-allocation plan |
Build Batch Color Consistency Into Procurement
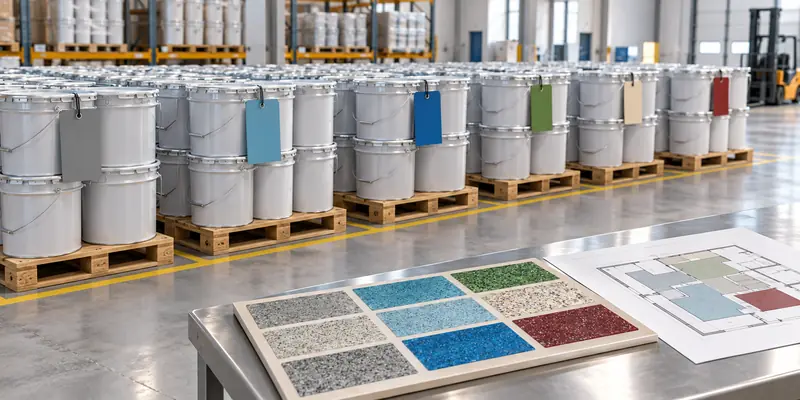
Batch planning starts with an accurate quantity estimate, project phasing, and a realistic reserve. The schedule should identify the area, system layers, consumption, work sequence, and additional material required by the approved plan. Do not copy a generic reserve percentage; use the substrate, layout, packaging, application method, and supplier recommendation.
Use one production batch within the same continuous visual area whenever possible. Check batch numbers and packaging before the material is released to the mixing station. If the project cannot be supplied from one batch, assign batches to separate rooms, floors, corridors, or zones divided by doors, thresholds, joints, or other natural breaks. Avoid changing batches in the middle of an open field where both sections will be seen together.
DIMERY's instructions acknowledge that separately produced batches cannot be guaranteed to look completely identical. They recommend using materials in batch-number order, avoiding different batch components in the same area, and organizing installation by batch. That is a more defensible specification than an absolute promise of zero visible difference. Any proposal to blend or combine batches must be reviewed by DIMERY technical support; improvised field mixing is not an acceptable substitute for batch allocation.
Standardize Mixing for Floor Coating Color Matching
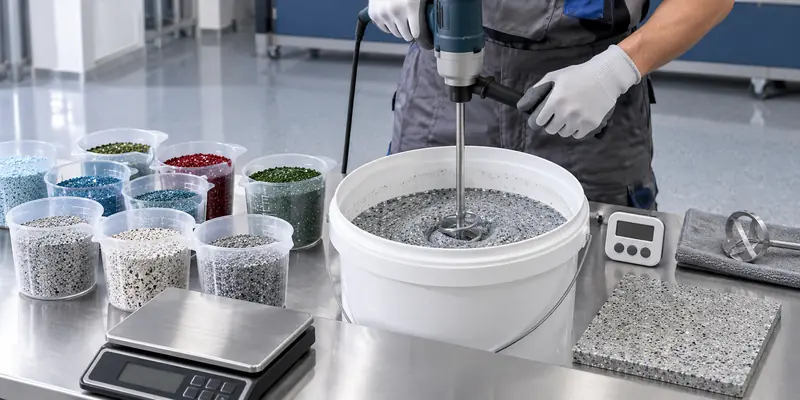
Once materials reach the site, repeatability matters more than individual technique. Use the same approved mixer, paddle, container, timer, transfer method, spreading tool, and crew sequence for every kit. Re-disperse settled components as instructed before mixing the A/B system, and never adjust resin, hardener, pigment, or aggregate by eye.
DIMERY's product instructions specifically prohibit hand mixing and require the prescribed mixing procedure. The crew should therefore work from the current application guide or project method statement, not a habit learned from another resin system. Mixing time, order, speed, and tool selection are product-specific controls. Unapproved solvent, pigment, aggregate, or leftover material can change shade, opacity, viscosity, cure, texture, or gloss.
Application tools also affect appearance. Changing from one trowel or rake setting to another can alter film build. Different rollers may leave a different surface texture. Late reworking can create roller or trowel bands after the material has started to change viscosity. The supervisor should treat the mixing and application line as one continuous process: while one kit is being installed, the next is prepared on the same timed method so the crew can maintain a wet transition without stretching material beyond the planned coverage.
Check Lighting Before Approving Custom Floor Colors
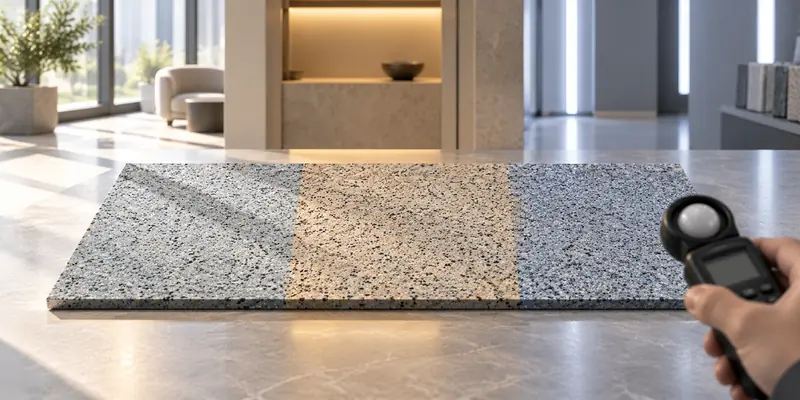
Color should be judged under the light that will be used after handover. A sample approved beside a window can appear warmer, cooler, darker, or flatter under the completed lighting layout. Glossy finishes reflect fixtures and bright openings, which can make adjacent areas look different even when the coating color is similar. Side lighting makes film-build and texture changes more visible than diffuse overhead light.
Before final approval of custom floor colors, identify daylight exposure, fixture type, color temperature, strong reflections, glazed façades, and shadowed areas. Review the cured sample under the main lighting conditions and agree on the primary inspection condition. The same floor may not look identical beneath different light sources.
The substrate and layer build also matter. A light-colored or partially translucent finish may reveal differences in the layer below if coverage or thickness changes. A uniformly prepared substrate, consistent primer/intermediate color where specified, and controlled final thickness help prevent underlying differences from telegraphing through. The objective is not to manipulate lighting to hide defects; it is to prevent a lighting disagreement from being mistaken for a material mismatch.
Protect Batch Color Consistency During Large-Area Application

Divide the floor into pours the crew can complete within the product's working time and actual site conditions. Align boundaries with joints, doorways, columns, thresholds, changes in level, or natural visual breaks. A stop chosen only because a shift ended can leave a visible transition across an open area.
Within a continuous zone, keep the sequence moving so adjacent material joins at the approved stage. Maintain coverage and thickness instead of thinning or stretching the final kit. Keep crew roles stable where practical, and record tool changes, delays, contamination, or condition shifts that may explain a later appearance difference.
Environmental controls must follow the current DIMERY product instructions and project method statement. The site needs adequate lighting and power, and heating or cooling may be required when conditions fall outside the approved working range. Prevent cross-trade contamination: dust, water, footprints, overspray, and debris can produce local areas that look lighter, duller, rougher, or more reflective after cure.
Record Floor Coating Color Matching and Acceptance
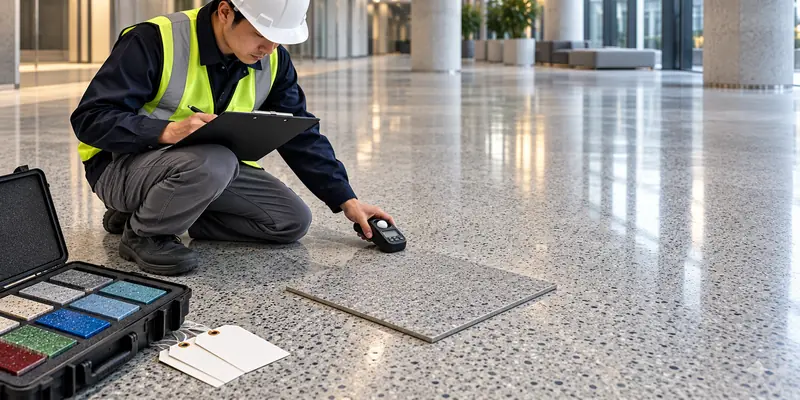
Color acceptance is easier with records. Each zone should have an installation log covering date, location, batch numbers, kit quantity, crew, mixing equipment, application tools, work times, required environmental readings, photos, interruptions, and corrective actions.
Inspection should take place after the relevant layer has cured sufficiently for a stable visual review. Compare the floor with the approved sample under the agreed lighting and from the agreed viewing conditions. Review color, aggregate distribution, texture, gloss, transitions, and visible repair marks separately. A sheen difference should not automatically be called a pigment mismatch, and an intentional mineral pattern should not be rejected as though the finish were specified as a solid flat color.
For disputed areas, map the visible pattern against batch boundaries, pour sequence, tool direction, thickness, and lighting. A difference that follows the end of a kit suggests a mixing or batch issue; parallel bands following the applicator may indicate film-build, wet-edge, or finishing differences. DIMERY's quality assurance process provides the appropriate internal-link destination for production and inspection support, while the project acceptance document should define the actual criteria for that site.
Reserve Material After Flooring Sample Approval
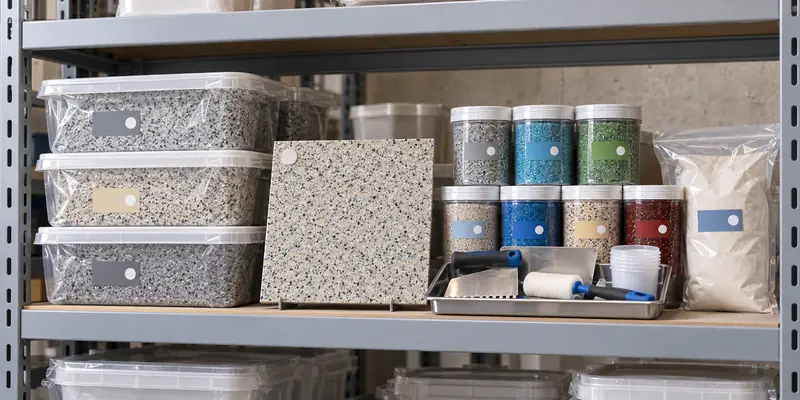
Future repair is part of the original color plan. Retain sealed, clearly labeled material from the project where shelf life, storage conditions, packaging, and technical guidance allow. Record its product, color, batch number, delivery date, storage location, and expiry. Keep the approved master sample and final area photos with the same project file.
Retained material still cannot guarantee an invisible patch. The floor changes with wear, cleaning, light, and time, while a repair has a fresh surface and new edges. Matching the nominal color does not automatically match sheen, texture, thickness, aggregate distribution, or appearance under side lighting.
Before a visible repair, produce a small cured test using the planned preparation, tool, layer build, and topcoat. Decide whether the repair should stop at a natural boundary or whether a wider recoat area is needed. Local touch-up should not be presented as automatically seamless; the goal is a controlled, approved result with the smallest reasonable visual interruption.
Large-Project Resin Flooring Color Variation Risk Checklist

| Risk point | Control before work continues |
|---|---|
| Screen or printed color used as the standard | Approve a labeled, fully cured physical sample |
| Sample reviewed under unrelated lighting | Check it under daylight and final project lighting |
| Intentional mineral movement not defined | Record acceptable texture and aggregate character |
| Different batches enter one open visual area | Allocate batches by room, zone, joint, or threshold |
| Unapproved field pigment or manual mixing | Follow the current DIMERY mixing procedure only |
| Tools, crew, or spreading rate change mid-zone | Standardize equipment, roles, thickness, and timing |
| Pour stops in an exposed location | Plan boundaries at natural visual breaks |
| Thin final kit used to complete an area | Protect target coverage and prepare sufficient material |
| Acceptance based on casual viewing | Agree on cure stage, lighting, distance, and criteria |
| No material or records retained for repairs | Store approved samples, batch data, photos, and suitable reserve |
FAQs About Custom Floor Colors and Project Consistency
Can a large resin floor be guaranteed to have absolutely no color variation?
No. Batches, aggregate distribution, thickness, texture, gloss, lighting, and later exposure can influence appearance. The practical objective is to define the approved character, minimize avoidable differences, and keep batch or application changes away from continuous visual areas.
Is a digital color chart enough for floor coating color matching?
No. Screens, cameras, and ambient light alter appearance. Use the chart to select a direction, then approve a fully cured physical sample representing the system, texture, and topcoat. For a visually critical project, add a site mock-up under the final lighting.
What if the project requires more than one production batch?
Prepare a batch-allocation plan. Use one batch within each continuous visual zone where possible, and place unavoidable changes at doorways, joints, thresholds, or rooms. Do not manually combine materials unless DIMERY approves a project-specific procedure.
Why can the same color look different in two areas?
Lighting, gloss, texture, thickness, substrate show-through, pigment dispersion, or the production batch may be responsible. Compare both areas under the same light and check the installation log and batch map before deciding whether the difference follows the batch, applicator, or lighting pattern.
Can a local patch perfectly match the original floor?
A close match may be possible, but an invisible patch cannot be assumed. Wear, cleaning, and light change the original floor, while fresh material may differ in sheen or texture. Test the repair system and use a natural boundary in prominent areas.
What should be submitted when requesting a color sample?
Provide the project type, area, substrate, location, lighting, color reference, texture and sheen preference, traffic, system requirements, schedule, and continuous-zone sizes. For brand or material matching, send a physical reference when possible instead of only a photo.
Control Resin Flooring Color Variation as a Project System
Consistent color is the result of connected decisions, not a last-minute inspection. Approve a cured physical sample, define acceptable texture and sheen, allocate production batches by visual zone, standardize mixing and tools, control thickness and work sequence, inspect under agreed lighting, and retain records and suitable repair material. This approach reduces avoidable differences while setting realistic expectations for a mineral-textured resin floor.
Planning a large decorative flooring project? Request a color sample and send DIMERY your project area, substrate, color reference, lighting conditions, texture preference, schedule, and site zoning plan for a project-specific review.
---
Related Articles
Clean Room Flooring Requirements: What Buyers Should Verify Before Ordering?
A buyer checklist for clean room flooring requirements: define the room, specify a complete hygienic resin system, compare options, request supplier documents and trial results, and use a procurement schedule.

How to Choose a Polymer Terrazzo Floor Coating Manufacturer?
A neutral, evidence-first buyer guide and supplier scorecard for evaluating a polymer terrazzo floor coating manufacturer across documents, samples, batch control, OEM, packaging, supply and after-sales support.
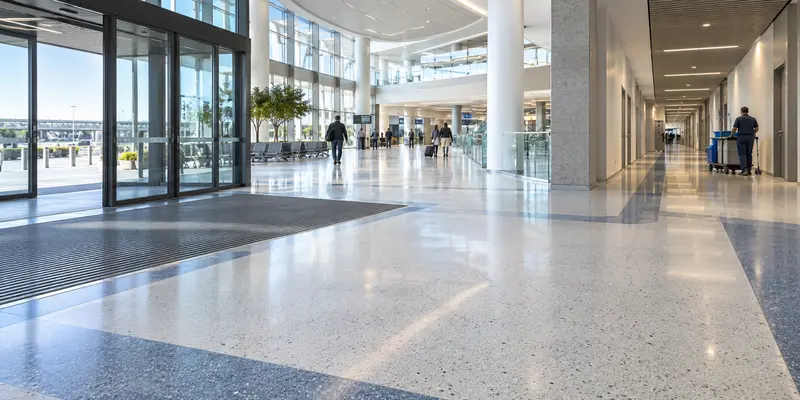
How to Specify Resin Flooring for High-Traffic Public Buildings?
A public building flooring specification maps each zone to measured performance: traffic, slip risk, cleaning, indoor-air and fire documents, substrate and system build-up, installation phasing, and a supplier submittal checklist for approval and handover.
Slip-Resistant Epoxy Floor Coating: Anti-Slip or Easy to Clean?
The best resin floor is neither the roughest nor the smoothest. It achieves the project’s required traction under credible conditions and can be cleaned consistently with the facility’s real equipment, labor and chemistry.
How to Clean and Maintain Polymer Terrazzo Flooring?
Learn resin floor maintenance for polymer terrazzo flooring, including daily cleaning, safe tools, stain removal, high-traffic care and topcoat inspection.
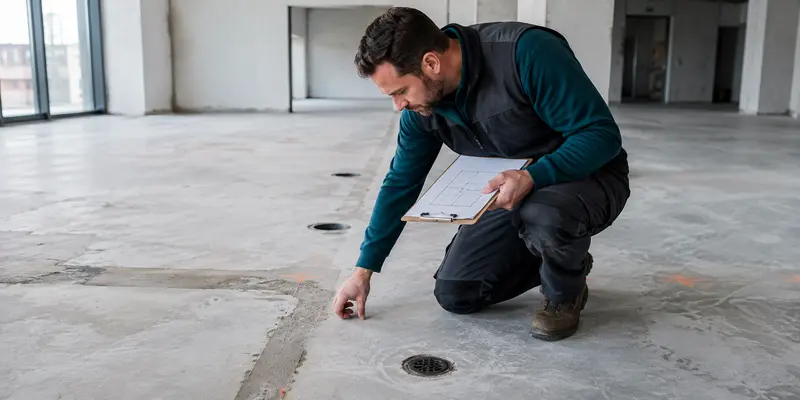
How to Prep Concrete for Epoxy Coating Before Resin Flooring?
A step-by-step technical guide to preparing a concrete substrate before epoxy or resin flooring: moisture, strength, surface profile, cracks, contamination, site conditions, and a go/repair/mitigate/stop decision checklist.