How to Apply Polymer Marble Coating?
Date: 20 July, 2026
Views: 1
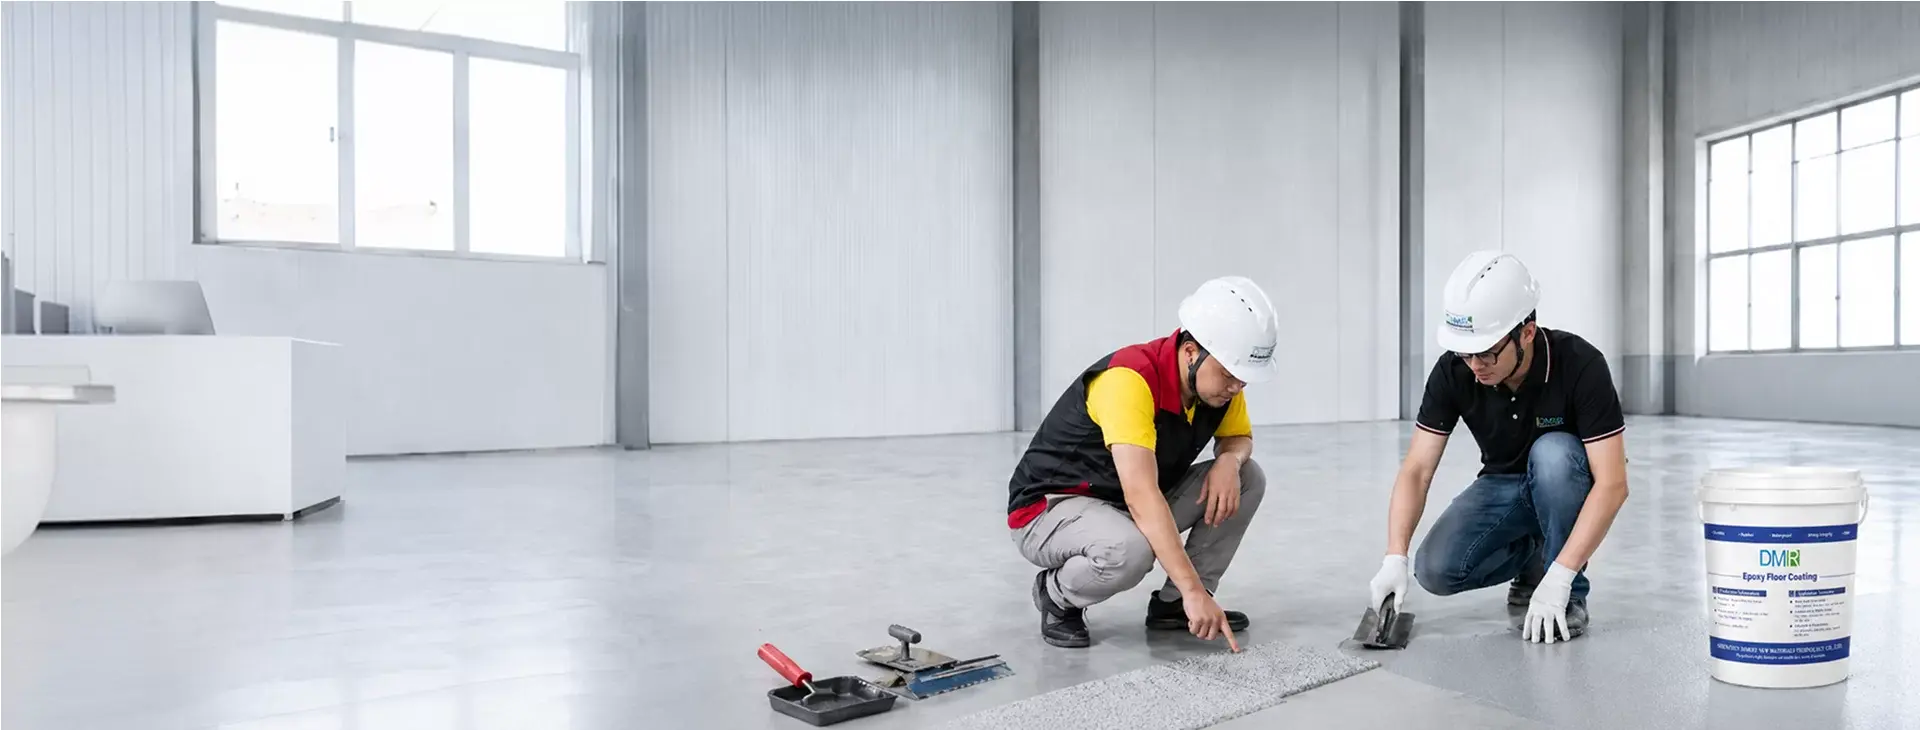
Polymer marble coating installation and on-site preparation
Polymer marble coating is a decorative flooring system used to create a smooth, seamless and refined marble-effect surface. Its final appearance and long-term performance depend not only on the coating material itself, but also on substrate preparation, environmental conditions, mixing accuracy, application thickness, defoaming and curing protection.
Even when high-quality materials are used, an improperly prepared substrate or incorrect A/B component ratio may result in bubbles, pinholes, uneven curing, poor adhesion, color variation or an irregular surface. A standardized installation process therefore helps contractors reduce rework and achieve a more consistent finished floor.
This guide is based on the DIMERY Polymer Marble Coating Product Manual and explains the main installation stages, working conditions and site-control requirements for contractors, project managers and flooring installation teams.
Polymer Marble Coating Application Process
A standard polymer marble coating project normally includes substrate preparation, primer application, intermediate coat application, surface grinding and vacuuming, polymer marble topcoat application, defoaming and curing.
Before starting work, the installation team should confirm that the substrate, environmental conditions, materials and tools meet the project requirements. The substrate should be solid, dry, level and free from oil, dust, loose material, standing water and unstable old coatings.
Control Item | Recommended Requirement |
Substrate moisture content | No more than 8% |
Application temperature | 10°C to 35°C |
Relative humidity | No more than 85% |
Material working time | Approximately 15–20 minutes, depending on the coating stage |
Substrate condition | Solid, dry, clean, level and free from contamination |
Layer condition | Each previous layer must be fully dry before the next coat is applied |
These values should be treated as general application references. Actual working time and curing speed may change with temperature, humidity, material quantity and site conditions.
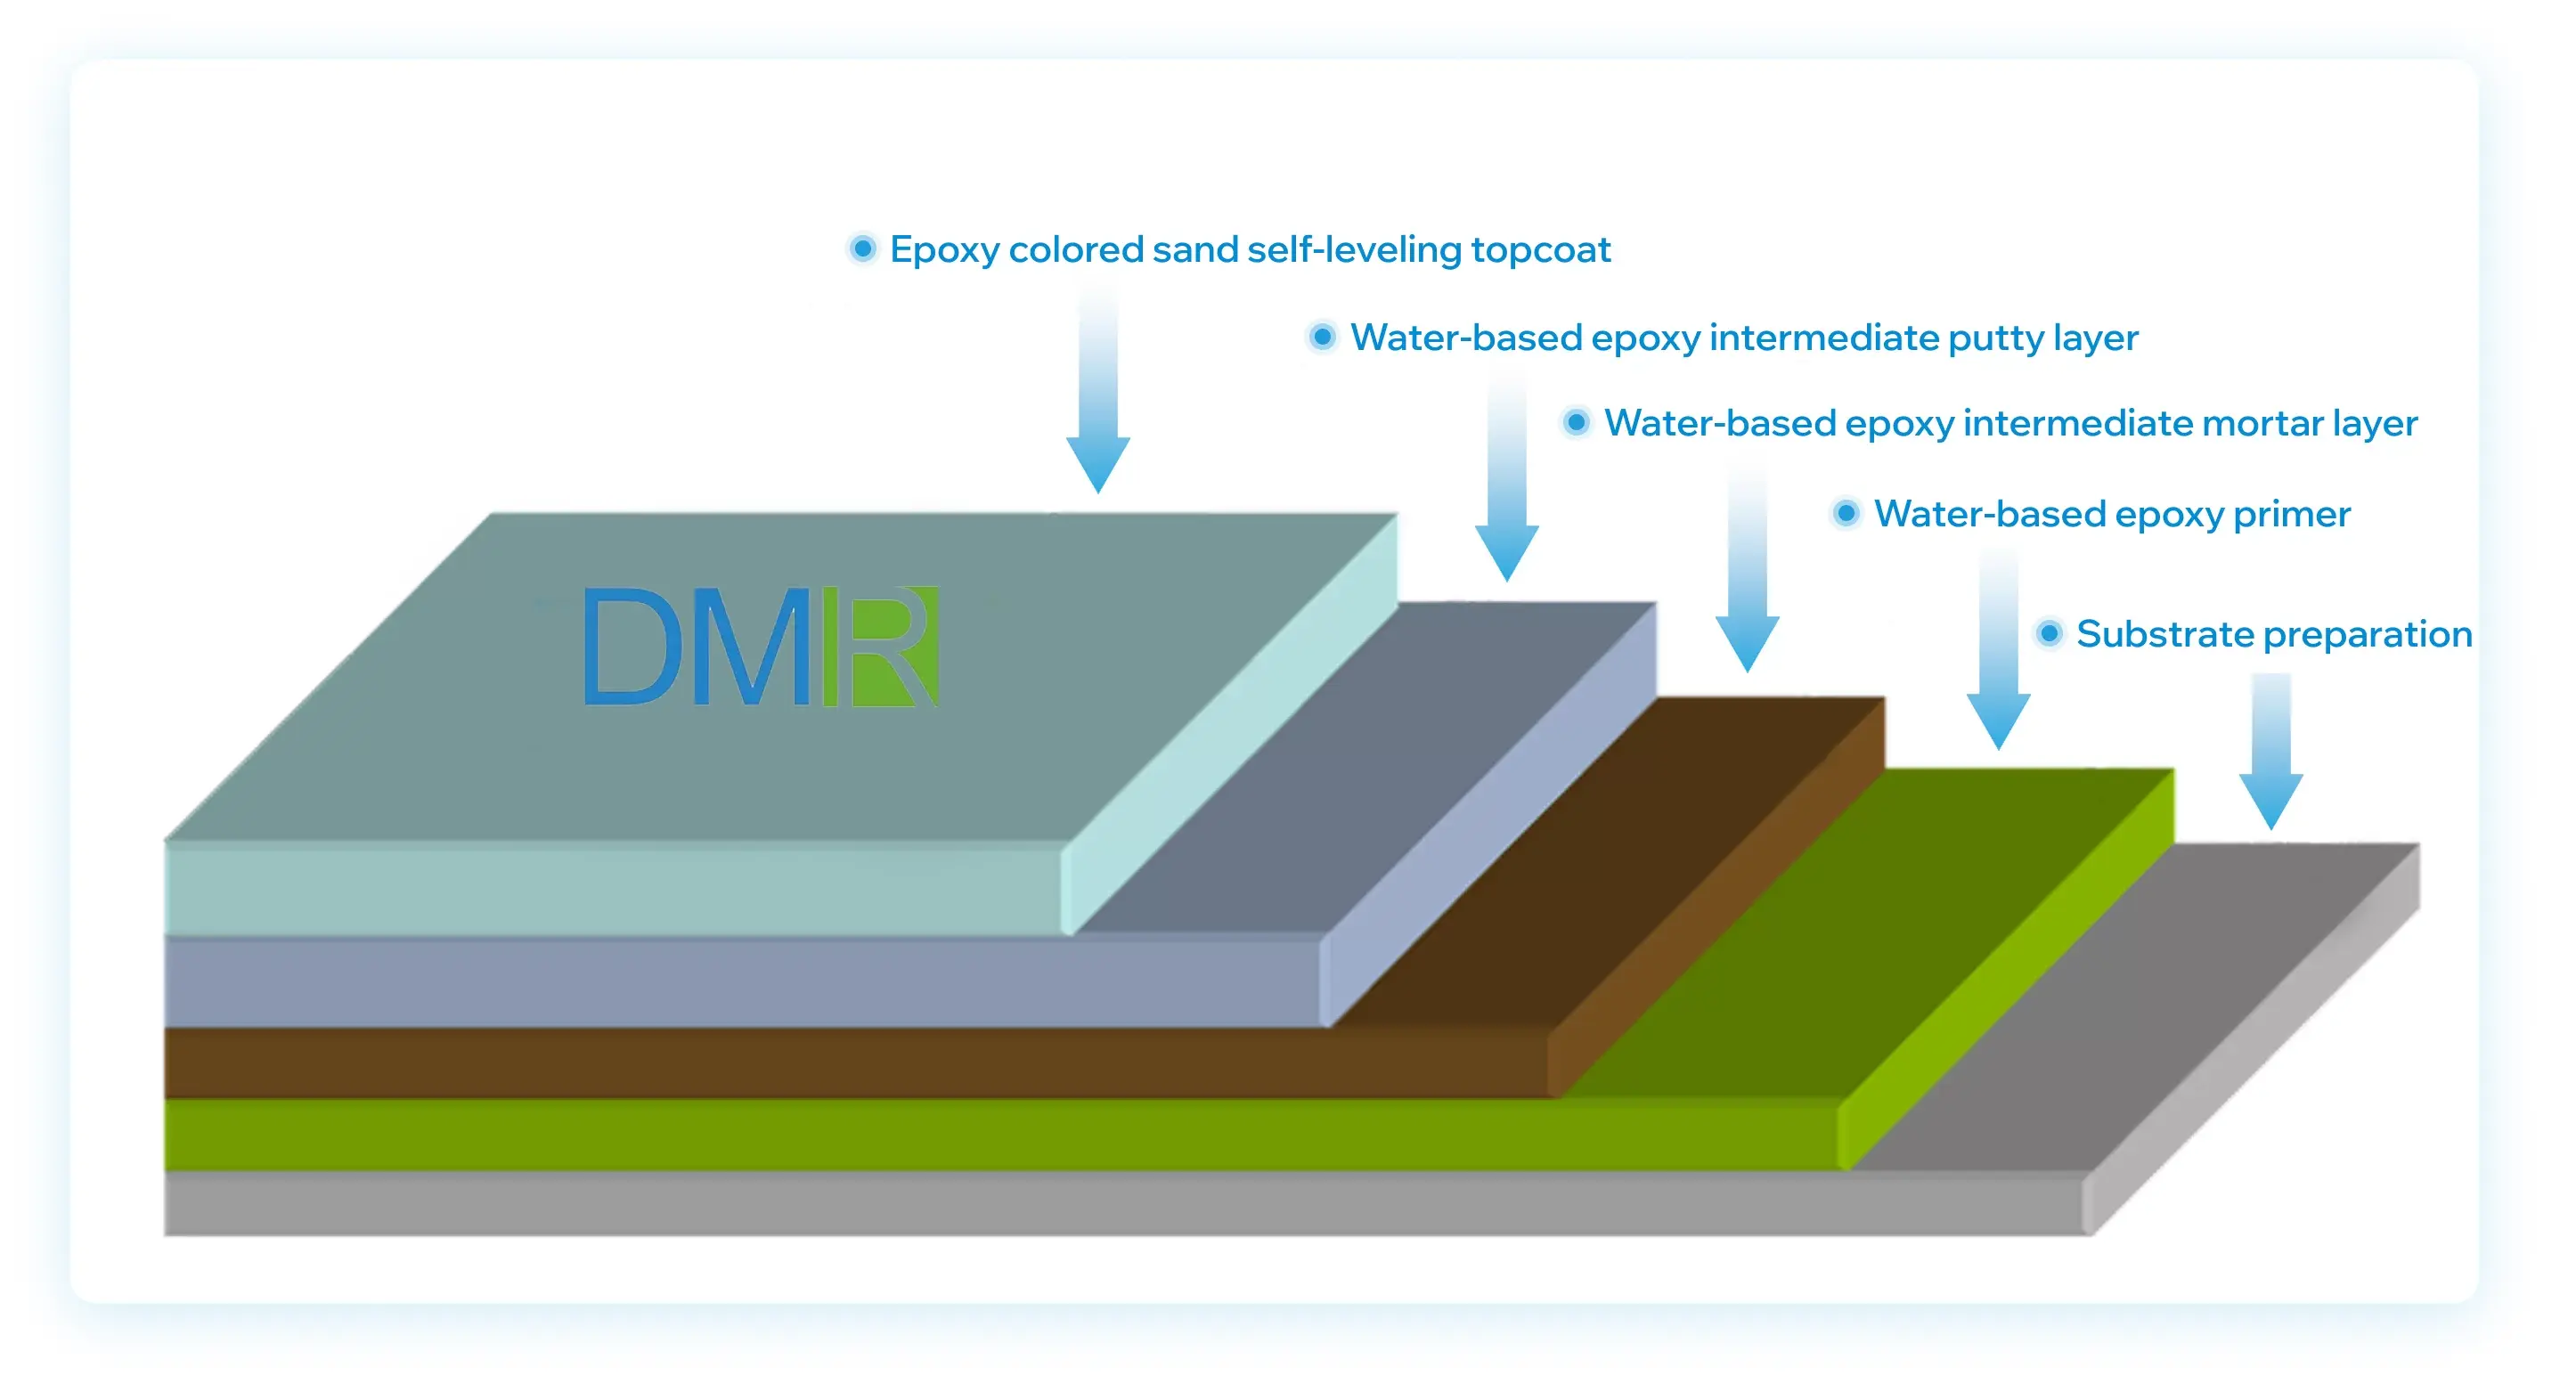
Typical DIMERY polymer marble floor coating system structure
Why Substrate Preparation Matters
Substrate preparation directly affects coating adhesion, surface stability and the finished appearance of the floor. Concrete, existing coatings and old tile surfaces should therefore be inspected, ground, cleaned and repaired before application.
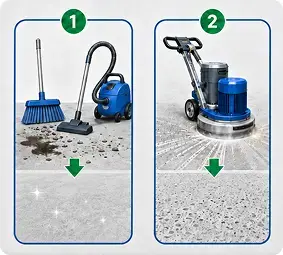
Substrate cleaning and mechanical grinding before coating
The floor must be structurally sound and free from oil, grease, loose paint, dust, sanding, hollow areas and standing water. Cracks, holes and uneven areas should be repaired and leveled in advance, because untreated defects may later appear through the intermediate coat or topcoat.
After grinding and repair, the surface must be thoroughly vacuumed. Residual dust can weaken adhesion between layers and increase the risk of delamination, hollow spots, bubbles or surface irregularities.
Where an existing tile floor is being renovated, the tiles should first be checked for stability. Loose or hollow tiles must be repaired, and the surface should be mechanically prepared to create a suitable bonding condition.
Material Mixing Requirements
Primer, intermediate coat and topcoat materials must be mixed according to the A/B component ratio shown on the product packaging. The ratio should not be changed, and water, thinner or incompatible curing agents should not be added.
An electric mixer should be used for all coating materials. During mixing, the operator should move the mixing head around the bottom, sides and center of the container so that all material is blended evenly. Incomplete mixing may cause abnormal curing, insufficient strength, color variation or bubbles.
Once components A and B are combined, the curing reaction begins. For this reason, the installation team should mix only the amount that can be applied within the available working time. Smaller and more frequent batches are recommended, particularly in warm conditions, because higher temperatures generally accelerate curing.
Primer Application
The primer is used to seal the substrate and improve adhesion between the base floor and the following coating layers.
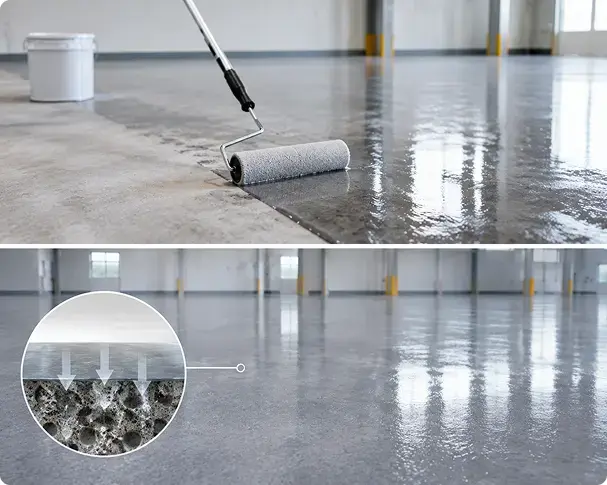
Primer application for a resin flooring system
Primer components A and B should be mixed with an electric mixer for approximately two to three minutes until uniform. The mixed primer should normally be applied within approximately 20 minutes.
The material may be applied by roller or scraper. When rolling, the surface should be coated evenly in crossing directions to reduce missed areas and ensure consistent coverage.
The intermediate coat should not be applied until the primer is fully dry.
Intermediate Coat Application
The intermediate coat is used to level the floor and improve the overall strength of the coating system.
Component A should first be mixed for approximately one to two minutes. Component B is then added, and both components should be mixed together for another two to three minutes until the material is uniform.
The mixed intermediate coat should generally be used within approximately 15 minutes. Because the available working time may become shorter in warm environments, it is safer to mix smaller quantities.
The intermediate coat may be applied by scraping or troweling. After it has dried, the surface should be ground where necessary and thoroughly vacuumed before applying the polymer marble topcoat.
Coating Stage | Mixing Method | Reference Working Time | Application Method | Main Purpose |
Primer | Electrically mix A/B components for 2–3 minutes | Within approximately 20 minutes | Roller or scraper | Seal the substrate and improve adhesion |
Intermediate coat | Mix A for 1–2 minutes, add B and mix for 2–3 minutes | Within approximately 15 minutes | Scraping or troweling | Level the floor and improve overall strength |
Polymer marble topcoat | Mix A for 1–2 minutes, add B and mix for 2–3 minutes | Within approximately 20 minutes | Troweling or self-leveling application | Form the decorative finished surface |
Polymer Marble Topcoat Application
Before preparing the topcoat, the installer should confirm that the primer and intermediate coat are fully dry and that all grinding dust has been removed.
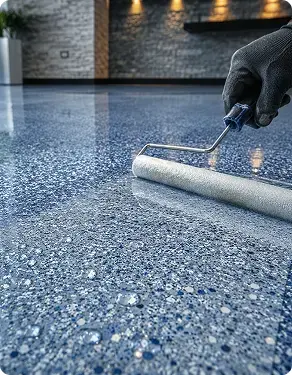
Topcoat application on a decorative seamless floor
Component A should be mixed for approximately one to two minutes before component B is added. The complete mixture should then be mixed for another two to three minutes until uniform. Particular attention should be paid to material around the bottom and sides of the container.
The material should be mixed according to actual application demand rather than prepared in excessive quantities. Under normal reference conditions, the mixed topcoat should be applied within approximately 20 minutes.
The polymer marble topcoat may be applied by troweling or self-leveling methods, depending on the selected system and project conditions. The application thickness should remain consistent across the working area, because uneven thickness may lead to color variation, flow marks, bubbles, localized material build-up or an uneven surface.
Before starting a large continuous section, the team should confirm the required material quantity, batch numbers, installer responsibilities and working sequence. Maintaining a continuous wet edge helps reduce visible joints between adjacent application areas.
Defoaming the Topcoat
The surface should be treated with a defoaming roller immediately after topcoat application.
Prompt defoaming helps release trapped air and reduces the risk of bubbles, pinholes, flow marks and surface irregularities. If the material has already started to cure, surface correction becomes more difficult and may affect the final appearance.
The topcoat should therefore be applied and defoamed in a coordinated sequence, with enough installers available to complete both operations within the material’s working time.
Environmental Control During Application
Application temperature should generally be maintained between 10°C and 35°C, while relative humidity should remain no higher than 85%.
Installation is not recommended during rain, condensation, excessive humidity or when visible water is present on the substrate. During topcoat application, the substrate temperature should generally remain at least 3°C above the air dew point to reduce the risk of whitening, haze, pinholes or bubbles.
The site should remain ventilated throughout mixing, application and curing. Materials should be kept away from open flames, heat sources and sparks, and installers should wear gloves, protective eyewear and suitable respiratory protection.
Batch and Thickness Control
The same material batch should be used within one continuous visible area whenever possible. Materials should also be applied in batch-number sequence.
Although production quality is controlled, using different batches in one uninterrupted area may increase the possibility of slight color differences. For large floors, preparing a sample area before full installation helps confirm the final color, texture and application method.
Intermediate coats and topcoats should be applied evenly. Localized thick sections, thin sections, missed areas or excessive material accumulation may affect curing, color consistency and finished surface quality.
Curing and Floor Protection
After topcoat application, the surface must be protected until it has dried and cured sufficiently.
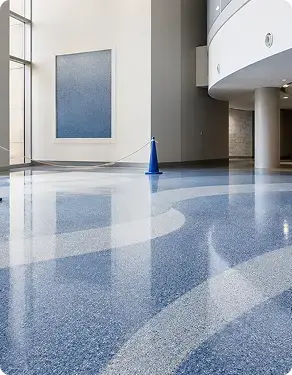
Finished polymer marble floor after curing
The floor should not be exposed to foot traffic, heavy loading, standing water, dust, chemical contact, detergent cleaning, mechanical abrasion or other construction activities during the curing period.
Under suitable environmental conditions, light use may be possible after initial drying. Full use should begin only after the floor has cured sufficiently according to the temperature, humidity, coating thickness and project conditions.
Lower temperatures generally extend curing time. Allowing adequate curing time is essential for the coating to achieve stable strength, adhesion and surface performance.
Common Application Problems and Prevention
Poor Adhesion or Delamination
Poor adhesion is often related to weak substrate strength, excessive moisture, dust, oil or loose existing coatings. These conditions should be corrected through grinding, repair, cleaning and vacuuming before primer application.
Abnormal Curing
Incorrect A/B ratios, incomplete mixing or the use of incompatible additives may cause incomplete curing, low strength or a sticky surface. Materials should always be mixed according to the product packaging.
Bubbles and Pinholes
Bubbles and pinholes may result from moisture, trapped air, excessive humidity, uneven application thickness or delayed defoaming. Controlling the environment and using the defoaming roller promptly can reduce these defects.
Color Variation
Color differences may occur when different material batches are used in one visible area or when the topcoat thickness varies. Using the same batch and maintaining consistent application thickness improves visual uniformity.
Surface Damage During Curing
Premature foot traffic, water exposure, dust, heavy objects or other trades working over the surface may cause scratches, contamination or permanent marks. The work area should remain isolated until curing is complete.
Polymer Marble Coating Site Inspection Checklist
Inspection Stage | Items to Confirm | Risk if Not Controlled |
Substrate preparation | Confirm substrate strength, moisture content, cleanliness, crack repair and dust removal | Poor adhesion, delamination, hollow areas, bubbles |
Environmental conditions | Confirm application temperature of 10–35°C, relative humidity of no more than 85% and no standing water or condensation | Whitening, haze, bubbles, delayed or unstable curing |
Material ratio | Confirm all primer, intermediate coat and topcoat materials are mixed according to the packaged A/B ratio | Incomplete curing, low strength, sticky surface |
Mixing process | Confirm an electric mixer is used and material around the container bottom and sides is fully blended | Color variation, bubbles, weak or uneven curing |
Working time | Confirm primer, intermediate coat and topcoat are applied within their recommended working times | Material thickening, poor leveling, visible application marks |
Layer condition | Confirm each previous layer is fully dry and free from grinding dust before the next layer is applied | Poor intercoat adhesion, contamination, surface defects |
Topcoat application | Confirm coating thickness is consistent and there are no missed, thick or accumulated areas | Color variation, flow marks, bubbles, uneven surface |
Defoaming | Confirm the topcoat is treated promptly with a defoaming roller | Pinholes, trapped air, bubbles, irregular surface |
Batch control | Confirm the same batch is used within one continuous area and a sample is completed for large projects | Visible color differences and inconsistent appearance |
Safety and curing | Confirm ventilation, personal protective equipment and protection from traffic, water, chemicals and other trades | Safety risks, scratches, contamination and unstable performance |
Frequently Asked Questions
Can Polymer Marble Coating Be Applied Over Existing Tiles?
Polymer marble coating may be applied over a stable existing tile surface, but the floor must first be inspected, ground, repaired and cleaned. Loose tiles, hollow sections, oil and dust must be removed or corrected before coating.
Why Is Electric Mixing Required?
Electric mixing helps distribute components A and B evenly throughout the container. Proper mixing reduces the risk of abnormal curing, color variation, bubbles and insufficient strength.
How Long Can Mixed Material Be Used?
As a general reference, primer should be applied within approximately 20 minutes, intermediate coat within approximately 15 minutes and topcoat within approximately 20 minutes. Actual working time depends on material temperature, ambient temperature and batch quantity.
How Can Bubbles and Pinholes Be Prevented?
The substrate should be dry, environmental humidity should be controlled, the material should be mixed evenly, application thickness should remain consistent and the surface should be treated promptly with a defoaming roller.
Why Should the Same Material Batch Be Used?
Using the same batch within one continuous floor area helps reduce the risk of visible color variation. This is particularly important for large decorative floors and open commercial spaces.
When Can the Finished Floor Be Used?
Light use may be possible after initial drying under suitable conditions. Full use should begin only after the coating has cured sufficiently based on temperature, humidity, thickness and DIMERY technical recommendations.
Achieving a Consistent Polymer Marble Floor
A reliable polymer marble floor is the result of a controlled system rather than a single coating layer. Substrate preparation, accurate A/B mixing, working-time management, consistent thickness, prompt defoaming and sufficient curing all contribute to the final appearance and long-term performance.
By following a standardized application process, flooring contractors can reduce installation errors, improve surface consistency and deliver a more reliable decorative flooring project.
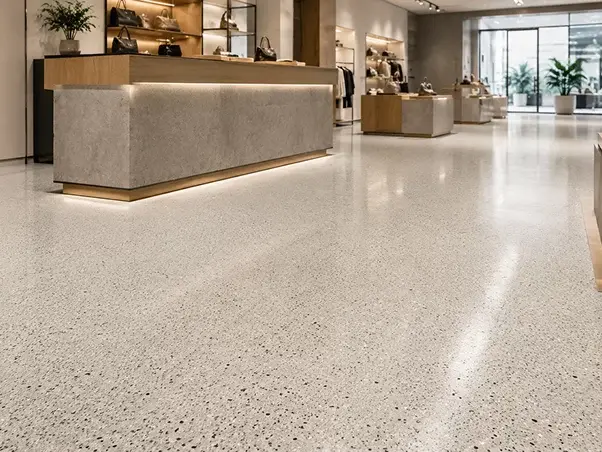
Polymer marble coating in a commercial interior
For application guidance, product samples or project-specific recommendations, provide DIMERY with the substrate type, project area, local temperature and humidity, preferred color and expected installation schedule.
Related Articles
Clean Room Flooring Requirements: What Buyers Should Verify Before Ordering?
A buyer checklist for clean room flooring requirements: define the room, specify a complete hygienic resin system, compare options, request supplier documents and trial results, and use a procurement schedule.

How to Choose a Polymer Terrazzo Floor Coating Manufacturer?
A neutral, evidence-first buyer guide and supplier scorecard for evaluating a polymer terrazzo floor coating manufacturer across documents, samples, batch control, OEM, packaging, supply and after-sales support.
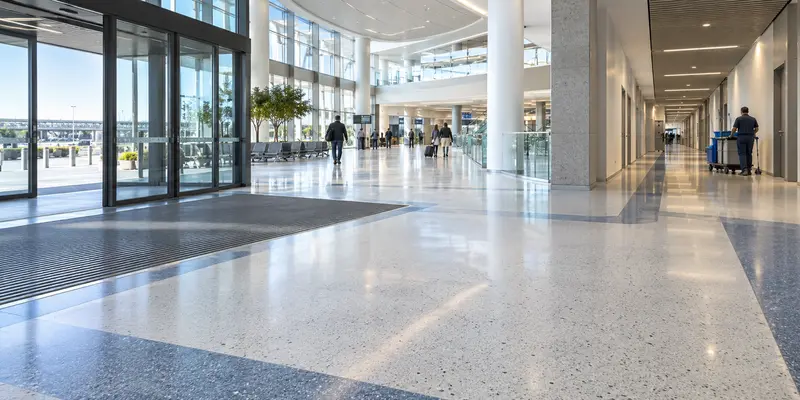
How to Specify Resin Flooring for High-Traffic Public Buildings?
A public building flooring specification maps each zone to measured performance: traffic, slip risk, cleaning, indoor-air and fire documents, substrate and system build-up, installation phasing, and a supplier submittal checklist for approval and handover.
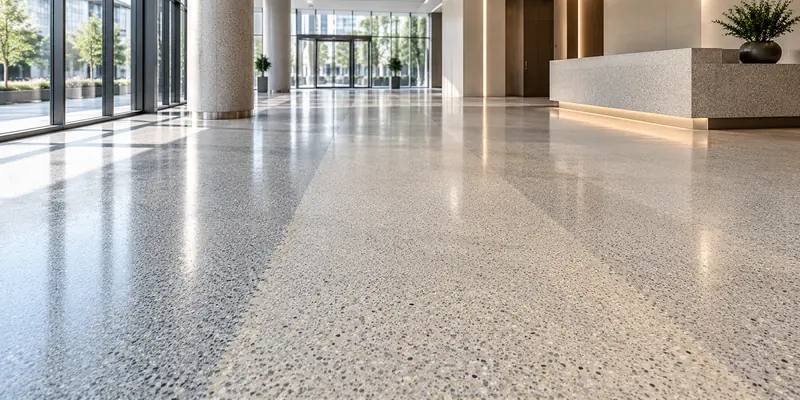
How to Control Color Variation in Large Resin Flooring Projects?
Color consistency on a large resin floor is controlled before, during, and after installation: approve a cured physical sample, allocate production batches by zone, standardize mixing and tools, check lighting, keep records, and retain repair material.
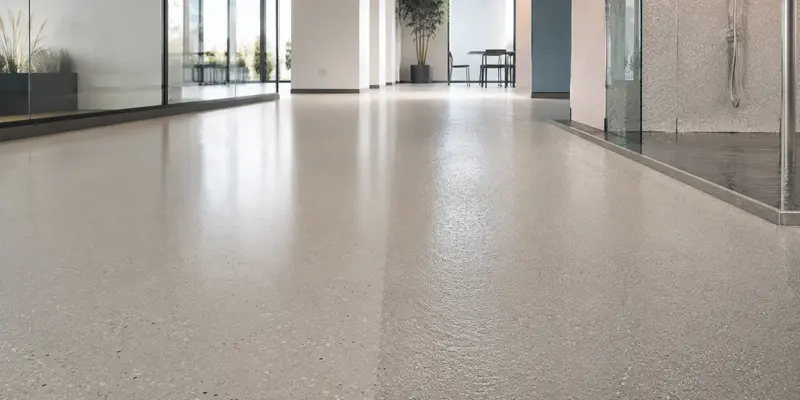
Slip-Resistant Epoxy Floor Coating: Anti-Slip or Easy to Clean?
The best resin floor is neither the roughest nor the smoothest. It achieves the project’s required traction under credible conditions and can be cleaned consistently with the facility’s real equipment, labor and chemistry.
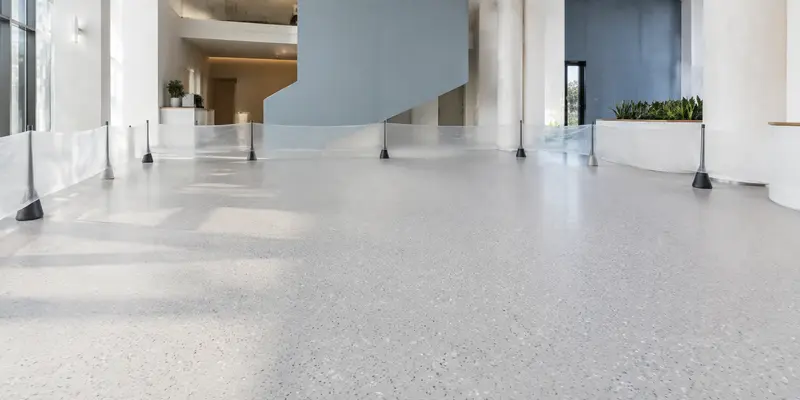
How to Clean and Maintain Polymer Terrazzo Flooring?
Learn resin floor maintenance for polymer terrazzo flooring, including daily cleaning, safe tools, stain removal, high-traffic care and topcoat inspection.